
Well I am active in making new articles now i created this rooting method for HTC Rezound which is a midranger in latest competetion flagships and you guyz will just taste the taste of Android operating system by Rooting this device and doing some customizations, along with flashing ROMs, so get concentrated.
Before You Begin:
1. This will void the warranty of your device. However, you can reinstate the warranty by unrooting your device if there’s any unrooting procedure available.
2. Download and install the to your computer as this will install the ADB drivers for your device.
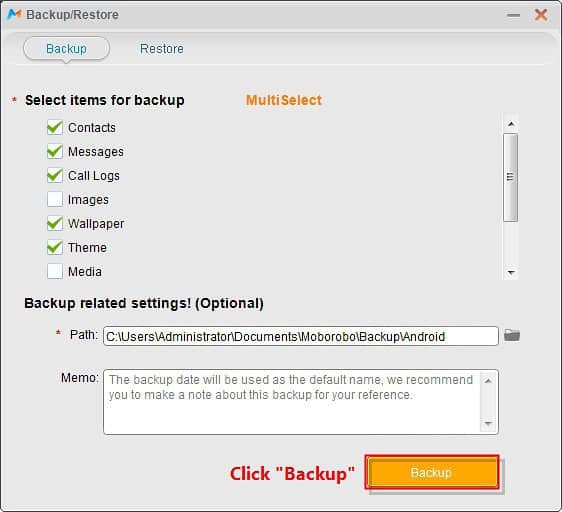
3. You can also use the Moborobo app to backup your device before proceeding and then use it to restore the device if something goes wrong (not a bad idea when dealing with root access). See below for all it can backup and restore.
4. You must have unlocked bootloader of your device. You can visit the to unlock your bootloader.
Downloads:1.
1. Download and place the Toolkit folder onto your Desktop.
2. Extract files from the folder over to your Desktop.
3. Double-click on the Toolkit file and will open a new window.
4. Turn ON the USB debugging option on your device by heading to Menu > Settings > Developer options > USB debugging.
5. Plug in your device to your PC using the USB cable.
6. In the toolkit, click on CWM as shown below:

Click on CWM button
7. It should flash the CWM Recovery on your device, shouldn’t take too long to finish.
8. Once the recovery’s been flashed, click on Gain Root button in the toolkit.

Click on Gain Root button
9. You’ll be taken to the CWM Recovery mode.
10. Once there, select install zip from sdcard followed by choose zip from sdcard.
11. Choose the Superuser.zip file to be flashed on your device.
12. It should begin flashing the file on your device and will be done within a minute or two.
Congratulations Your HTC Rezound smartphone has been successfully rooted.
No comments
Posted at 09:33 | by
John Peter

.jpg)


![[Official Firmware] Samsung Galaxy Fame DUOS GT-S6812 S6812DDAMD3 Official 4.1.2 Jellybean Firmware](https://blogger.googleusercontent.com/img/b/R29vZ2xl/AVvXsEjepIxLCxEJl2Cec8XBY9LRDNLHwPalSj_jZWT42-aAf781vEZc_61zPyCirAoxE-IrLmWq9CQNthAZZklgLBifij0fZUNGxjEJfhynCT17YTKUJj3nLdgcQ5WBgZmxmuaRJIOUy6FI9yIW/s72-c/samsung+galaxy+fame+official+firmware.png)


![[Official Firmware] Samsung Galaxy Tab 3 7.0 SM-T211 T211XXBNF5 Official 4.4.2 KitKat Firmware](https://blogger.googleusercontent.com/img/b/R29vZ2xl/AVvXsEivgSdzMDkBtvpZzsSvkNqN-Qs5RlJhtV20kKHMPQ6490lFMxxa8pesjTTvQF0mYOaMJbktncDZ0758YyJJtPrS9clh4nZQniAhXBb3EZMxNzIzJBuO_eDxE31VWLduJjajrVqAI8fw2w48/s72-c/samsung+galaxy+tab+3+7.0+official+4.4.2+kitkat+firmware.jpg)


